In the setup window choose a name such as Android set the operating system type to Linux and select the version Linux 2.6 / 3.x / 4.x.
 4")


 Study duration : 13 Minutes
  0 Comment
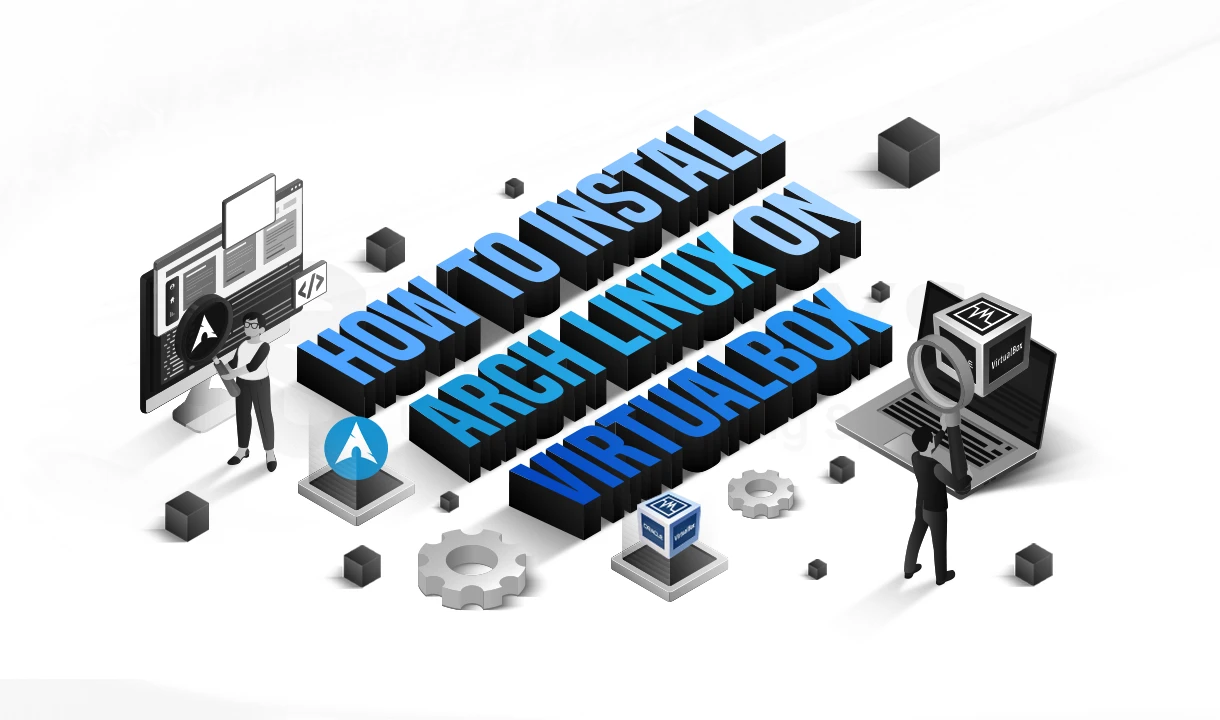
If you’ve ever tried to install Android on VirtualBox just because BlueStacks or similar emulators kept dragging your system down, yeah… that’s pretty normal. Most of us just want Android apps to run on a regular PC without all the extra stuff getting in the way. And funny enough, VirtualBox actually handles Android-x86 better than you’d expect it boots almost like a normal OS, nothing dramatic going on.
Maybe you’re testing an app. Maybe you’re curious about how Android-x86 behaves on a desktop. Or maybe you just want a bigger screen for a couple of mobile apps you use often. Whatever the case, you don’t need fancy hardware or deep technical knowledge. It’s really just a few steps and some patience.
I’m keeping this guide straightforward no buzzwords, no confusing stuff you don’t need. Just the actual process: grabbing the right ISO, creating the VM, and getting Android to run smoothly.
If that’s what you’re looking for, let’s jump in.
 1")
Many people assume that Android is designed exclusively for phones and tablets but that is not the full story. Android is built on a modified Linux kernel which means that with the right tools you can run it on regular computer hardware too .
And here’s the cool part:
Google Play hosts more than 3 million apps, yet Windows can’t run most of them natively. That’s why many users turn to emulators.
But instead of installing heavy Android emulators like BlueStacks (which themselves run a virtualized Android-x86 environment behind the scenes), you can simply install Android-x86 directly on VirtualBox.
You get:
A faster, lighter Android environment
More customization
Less bloat
A smoother testing environment for developers
So if your goal is to experiment and test apps or enjoy Android on a desktop, VirtualBox + Android-x86 is one of the cleanest setups you can choose.
Running Android-x86 on VirtualBox isn’t just convenient; it opens up some useful possibilities:
Faster than typical emulators
Developer-friendly
A safe place to experiment
Works well on older PCs
Easy multi-Android setup
Before we dive in it’s important to understand what Android-x86 actually is. Regular Android is built for ARM processors the kind found in smartphones. The thing is, your PC uses an x86 processor, and regular Android just isn’t designed for that kind of hardware.
To solve this gap, the Android x86 project was created.
Android-x86 stands out from the usual emulators like BlueStacks or Genymotion, offering a more responsive, lightweight, and flexible experience. Because it runs on x86 hardware directly you get smoother performance, lower CPU usage, and far more control over the system.
If you need a stable, customizable environment for testing, development, or experimenting at a deeper level, Android-x86 usually beats typical emulators by a wide margin.
 2")
Setting up Android-x86 inside VirtualBox requires a few quick preparations:
Download the Android-x86 ISO
Install Oracle VirtualBox
Set aside storage space for the virtual machine
Head to the official website: android-x86.org
Choose your preferred download source.
You’ll find multiple files, but the ones you actually need are:
Android-x86 32-bit ISO
Android-x86 64-bit ISO
Ignore the RPM builds unless you’re installing directly on Linux.
 3")
Although Android x86 itself isn’t large its VM can grow significantly as you install apps and update the system.
The safe choice is to create a dedicated partition for VirtualBox and your Android VM.
If you need more space simply shrink an existing partition using Windows Disk Management and create unallocated space for the VM .
Download VirtualBox from the official site and begin installation and make sure to install VirtualBox on the same partition you created for VM storage.
You don’t have to, but it’s highly recommended to install the VirtualBox Extension Pack for extra capabilities, including better USB support.
Begin by opening VirtualBox and selecting the New option.
Make sure the machine folder points to the partition you’ve prepared for your virtual machines.
If you’re using a 32-bit ISO, pick the 32-bit Linux version instead.
To ensure smooth performance allocate at least 2GB of RAM to the virtual machine.
 5")
VirtualBox’s default settings work perfectly fine for Android-x86
Go ahead with the default settings unless you have a specific reason to tweak the VM.
Start the newly created virtual machine.
VirtualBox will ask you to choose a startup disk.
Select the Android-x86 ISO file you downloaded earlier and continue to boot into the installer
 6")
Once the installer loads choose the option Install Android-x86 to hard disk.
You will enter the partitioning tool.
If the installer asks whether you want to use GPT, select No.
 7")
Inside the partition manager, create a new primary partition and confirm the default size.
Set this partition as Bootable then write the partition table to disk by selecting the Write option and typing yes when prompted.
After saving the changes, exit the tool to return to the installation menu.
 8")
When the installation finishes, select Run Android-x86.
After a quick loading process, the Android graphical interface should appear, and you can begin the initial setup just like on a real device.
 9")
Sometimes Android boots into text-only mode.
Turn off the virtual machine completely.
Start it again, but this time open the Advanced options menu.
Choose Boot from local drive then select Debug mode
In the debug environment, enter the following commands:
mount -o remount,rw /mnt
vi /mnt/grub/menu.lst
Inside the file editor, switch to insert mode by pressing i.
Add the term nomodeset_ before the words quiet root.
Save the file and exit the editor.
Shut down the VM and reboot it.
Return to Advanced options, select Boot from local drive, and then choose Android-x86.
You should now reach the graphical interface without issues.
Some users resolve the same problem by changing the graphics controller setting to VBoxVGA and switching the 3D Acceleration option on or off, depending on the system.
Running Android x86 on VirtualBox is a smart way to bring the Android experience to your PC without relying on heavy bloated emulators. Whether you are testing apps exploring Android features in a safe sandbox or simply want the convenience of mobile apps on your desktop this setup gives you full control great performance and a clean environment to experiment with.
If you’re planning to take things a step further, for example, testing apps remotely, running lightweight Android services online, or deploying Android-based automation tools using a fast and reliable VPS can make all the difference.
You can find high performance stable VPS plans at Azarsys tailored for developers testers and businesses looking for dependable infrastructure.
👉 Check out the available VPS options here and choose the one that fits your needs!